🔥 Free 25% more CPU for all Accounts!
Improve cache optimization with W3 Total Cache and WooCommerce
- Browser cache optimization
- Fragment Caching
- Database Query Caching
- JS, CSS, HTML optimization
- Configure W3 Total Cache on a WooCommerce Site

Step-by-step guide to configure W3 Total Cache with WooCommerce
One size don’t fit all, these recommendations are a great starting point and summery of all the most important configurations that makes the most impact on performance. When configuring cache for WordPress, make sure that the theme or plugins are not caching files that can conflict cause performance issues.
Step 1: Install and activate W3 Total Cache
- Log in to your WordPress admin dashboard
- Go to Plugins > Add New
- Search for “W3 Total Cache” and click Install Now on the plugin
- After installation, click Activate
Step 2: General settings
- Go to Performance > General Settings in your WordPress admin dashboard.
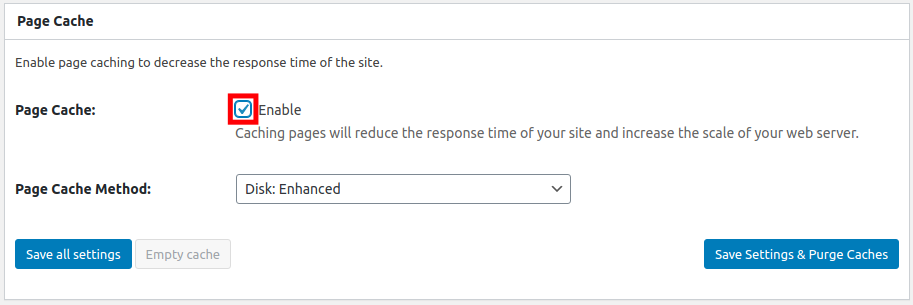
- Enable Page Cache: Caches static HTML pages to reduce server load and response time.
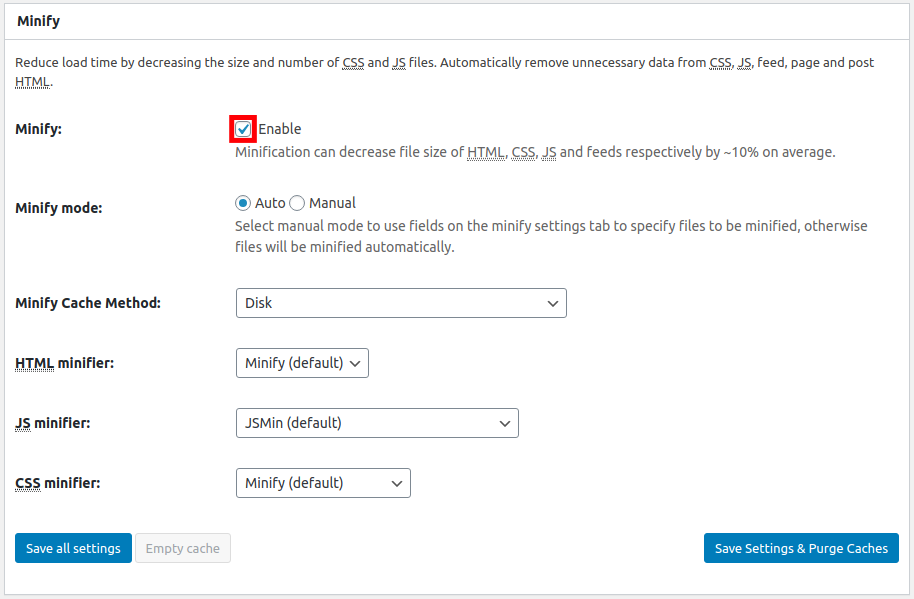
- Enable Minify: Compresses CSS, JavaScript, and HTML files, reducing file sizes and improving load times.
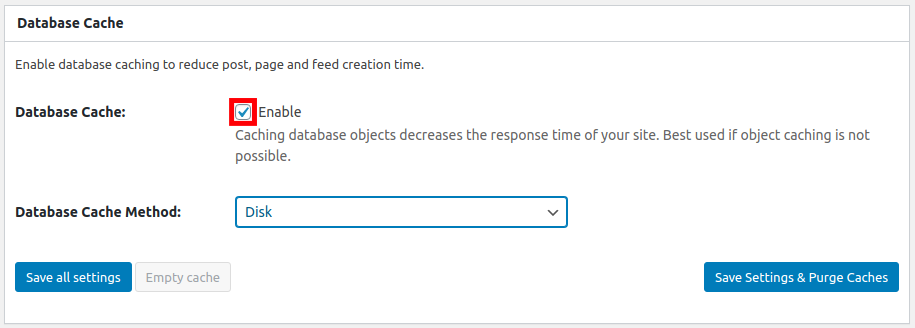
- Enable Database Cache: Caches database queries, reducing the load on your server.
- Enable Browser Cache: Caches static resources on the visitor’s browser, reducing server load and improving load times.

Step 3: Page Cache settings
- Go to Performance > Page Cache
- Set Cache Front Page to Enable
- Set Cache Feeds to Enable
- Set Cache SSL (https) requests to Enable
- Set Cache URIs with query string variables to Disable
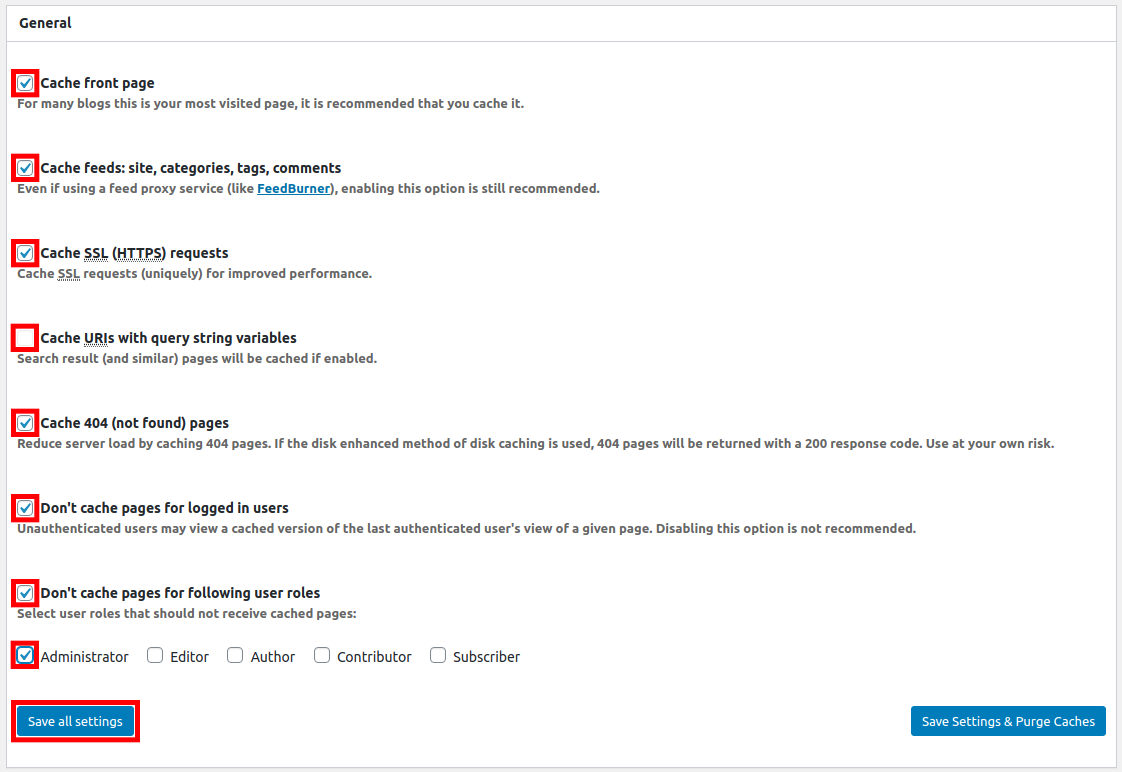
Scroll down to the Advanced section and add the following pages to the “Never cache the following pages” field, separated by line breaks
/cart/*
/checkout/*
/my-account/*- Save the changes.
Step 4: Database Cache Changes
- Go to Performance > Database Cache
- Set Cache Timeout to a reasonable value (e.g., 180 seconds).
- Save the changes.
Step 5: Browser Cache settings
- Enable Set Last-Modified header, Set expires header, Set cache control header, and Set entity tag (ETag)
- Save the changes
- Done!
Every WordPress installation is different because of unique plugin and theme stack, one size don’t fit all. These settings are recommended as starting point for w3 cache plugin + woocommerce + UxNitro host.
TIP: After every value change in w3 plugin, save and test speed impact. Some cache setting can conflict with other plugins or theme. In these cases, either disable w3 plugin feature setting or find source of conflict and disable.
